

Description
With the newly released S.TECH lowering springs for the A90 Toyota Supra, we wanted to put a notice out to owners about modifications needed to the rear bump stops.
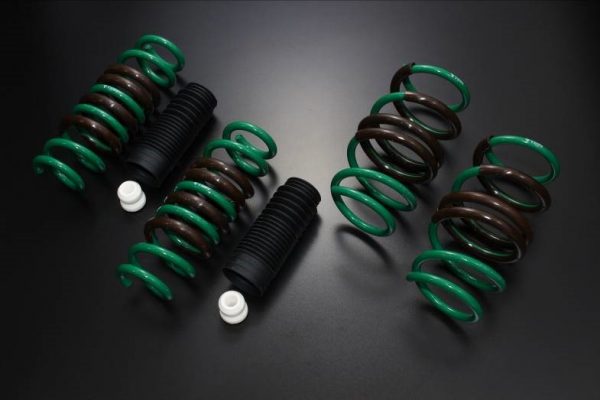
Our S.TECH spring kit (part number: SKTJ4-S1B00) includes a pair of bump stops and dust boots specifically for the rear shock absorber. However, it is to be used in conjunction with a modified OEM bump stop.
Please follow along as we show you what needs to be done.
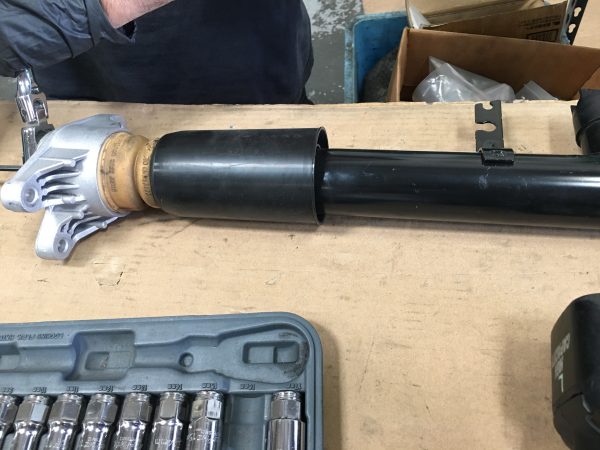
First, the rear shock absorber mount needs to be removed. Then, the the OEM bump stop can be pulled out of the mount. Now, the OEM dust boot is simply press fitted around the OEM bump stop. You can just pull the dust boot out, or you can leave it attached. Either way, the OEM bump stop needs to be trimmed significantly, and the portion to be removed also removes the OEM dust boot. Our included TEIN dust boot will replace this piece.
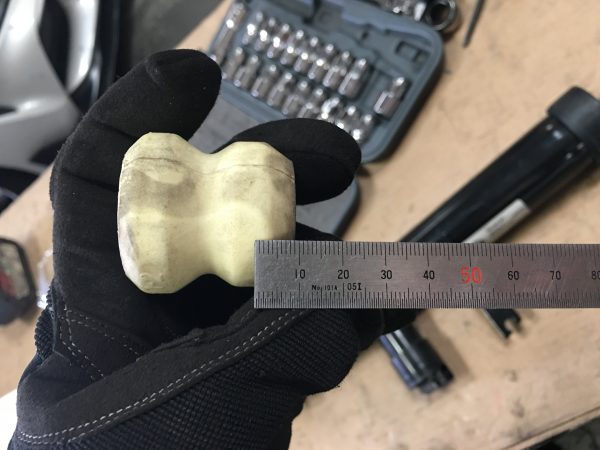
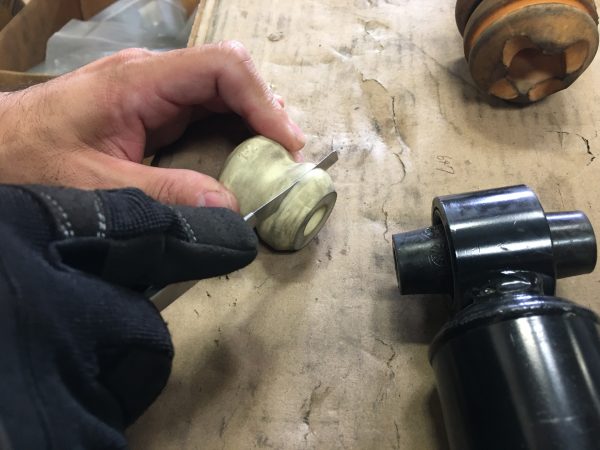
With the OEM bump stop removed, you need to measure 20mm from the top of the bump stop (widest portion) down and mark this location. This 20mm piece will be reinstalled in the rear shock absorber mount. You can use a razor blade (utility knife will do fine) to cut the bottom portion of the OEM bump stop off.

Now, the included TEIN bump stop also needs to be trimmed. 10mm needs to be trimmed off the bottom (narrow portion) of the TEIN bump stop.
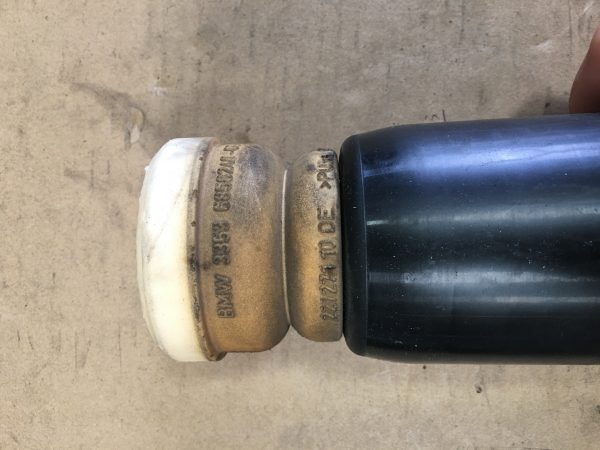
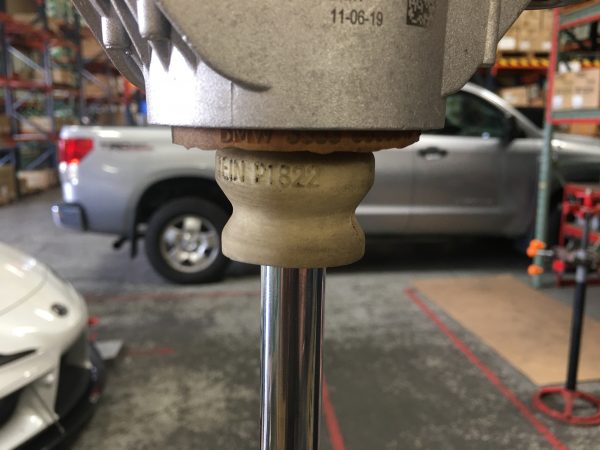
This picture shows how it is to look on the rear shock absorber (without the TEIN dust boot, for example only) along with the trimmed OEM bump stop.
For reinstallation, hand fit the modified TEIN bump stop onto the piston rod. Then, fit the TEIN dust boot onto the piston rod.
Then, reinstall the rear shock absorber mount (with the trimmed OEM bump stop hand pressed in) onto the piston rod. Now you can tighten the rear shock absorber mount with the 16mm flange nut.
Make sure the TEIN dust boot and bump stop are placed up against the trimmed OEM bump stop (basically you are going to sandwich the top of the TEIN dust boot against the trimmed OEM bump stop and trimmed TEIN bump stop).
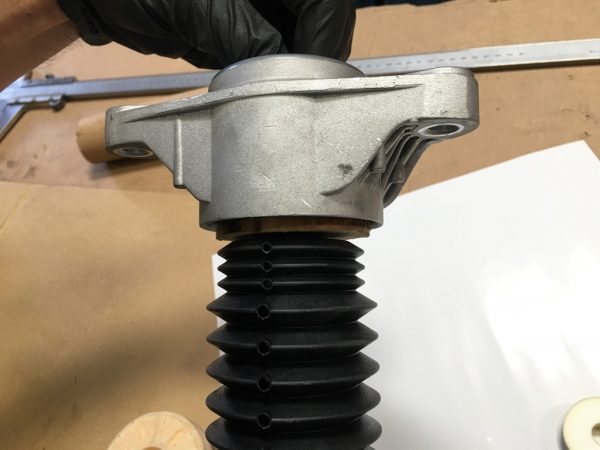
The rear shock absorber assembly is now ready to be installed back onto the vehicle.
Reviews
There are no reviews yet.